Introduction to the Unimig Viper Series
The unimig viper series represents a significant evolution in multi-process welding technology, catering to both seasoned professionals and hobbyists. With its blend of versatility, user-friendly features, and robust construction, the Viper line is making waves in workshops across the globe. This article explores the Viper welder series, discusses various models, offers setup and maintenance tips, and delves into advanced techniques for optimal welding.
Overview of the Unimig Viper
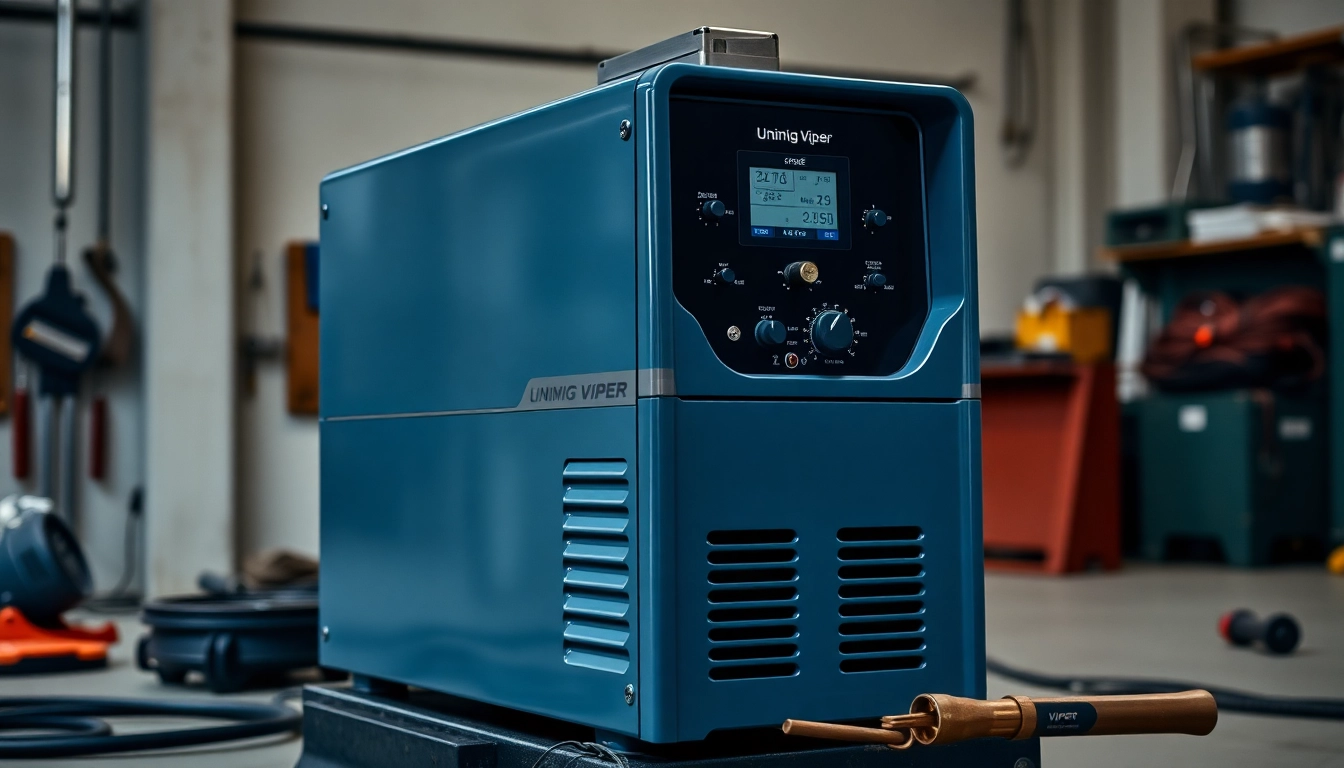
The Unimig Viper series encompasses a range of welding machines designed for MIG, TIG, and Stick welding processes. Each unit is engineered with the end-user in mind, offering intuitive controls and portability, which makes them ideal for both on-site jobs and at-home projects. Unlike traditional welders that are often limited to a single process, the Viper series ensures that welders can tackle a variety of materials and situations without the need for multiple machines.
Key Features and Specifications
Key features across the Unimig Viper series include:
- Multi-Process Capability: All Viper models allow for MIG, TIG, and Stick welding, making it versatile enough for various applications.
- User-Friendly Controls: The machines feature simple interfaces with clear displays that help users select voltage, wire feed speed, and modes efficiently.
- Portability: With lightweight designs and compact dimensions, these welders can be transported easily, making them suitable for fieldwork.
- Advanced Safety Features: Safety is prioritized with built-in thermal overload protection and gas safety alarms.
Target Audience and Use Cases
The Unimig Viper series targets a broad audience, including:
- Hobbyists: Perfect for DIY enthusiasts who require a reliable machine for home projects.
- Small Business Owners: Ideal for tradespeople engaged in automotive repair, metal fabrication, and other small business ventures.
- Educational Institutions: Supported robustly for teaching environments due to their ease of use and safety features.
Exploring the Different Models of Unimig Viper
Unimig Viper 185 Overview
The Unimig Viper 185 is particularly noteworthy in the lineup. This machine is revered for its blend of performance and affordability, making it an excellent choice for those looking to start welding without breaking the bank. With a maximum output of 185 amps, it can handle a variety of materials, including mild steel, stainless steel, and aluminum.
Specifications of Unimig Viper 185
- Welding Current Range: 30-180A
- Welding Thickness Range: 3mm to 10mm
- Wire Feed Speed: Adjustable for different materials and thicknesses
- Power Supply: 10A plug
Comparison with Other Unimig Models
Comparing the Viper 185 with other models in the series, such as the Viper 135 and Viper 195, we see significant differences in performance and intended use. For instance, the Viper 135 is pocket-sized and ideal for indoor projects with its lower output, while the Viper 195 is a robust unit for industrial applications needing higher amperage.
Choosing the Right Model for Your Needs
Selecting the right model of the Unimig Viper series depends largely on the intended use:
- For Light DIY Projects: The Viper 135 provides adequate power for thin materials.
- General Home Repairs: The Viper 185 offers a great balance of usability and versatility.
- Heavy-Duty Applications: The Viper 195 takes the lead with higher performance capabilities.
Setting Up Your Unimig Viper Welder
Step-by-Step Setup Instructions
Setting up your Unimig Viper welder is a straightforward process. Follow these steps for optimal results:
- Choose a suitable workspace: Ensure your area is well-ventilated and free of flammable materials.
- Connect the power cord: Plug the welder into a suitable 10A power outlet.
- Setup gas supply (if using MIG): Connect your gas cylinder to the regulator and ensure all connections are secure.
- Load wire spool: Open the wire compartment and insert the correct diameter of welding wire.
- Set initial parameters: Adjust the voltage and wire feed speed according to the material thickness.
Safety Considerations and Best Practices
Safety should always be a priority when operating welding equipment. Here are key safety practices:
- Wear appropriate Personal Protective Equipment (PPE), including gloves, a welding helmet, and flame-resistant clothing.
- Ensure that the work area is dry and free from any moisture to prevent electric shock and other hazards.
- Have a fire extinguisher readily available in the workspace.
Common Setup Issues and Solutions
Even with the best preparations, problems can arise. Here are common issues and their solutions:
- Wire Jamming: If you experience jamming, check for blockages in the feed mechanism and ensure the wire spool is unwound smoothly.
- No Gas Flow: If gas is not flowing, check the regulator settings and connection points for leaks.
- Welding Issues: Inconsistent welds can signal incorrect settings; adjust the voltage and feed speed accordingly.
Techniques for Optimal Welding with Unimig Viper
MIG Welding Techniques
MIG welding with the Unimig Viper requires both skill and practice. Key techniques include:
- Steady Motion: Maintain a consistent speed and angle while welding.
- Correct Travel Angle: Keep the welding torch at an angle of 10-15 degrees to ensure optimal penetration and bead formation.
- Cleaning the Material: Ensure all surfaces are clean before starting to prevent contamination.
TIG and Stick Welding Tips
For users wanting to utilize TIG and Stick functions, remember these tips:
- TIG Welding: Use a lighter hand to control the tungsten electrode and maintain a small arc length.
- Stick Welding: Ensure the correct electrode size and type for your material. Maintain a travel speed that allows for good penetration without excessive buildup.
Material Considerations: Steel, Aluminum, and More
Understanding material specifications can greatly influence your welding results. Here are some pro tips:
- Steel: Use a solid wire for optimal results. Pay attention to thickness when setting voltage and wire feed speed.
- Aluminum: Utilize a spool gun for better handling of aluminum wire and to prevent bird-nesting.
- Stainless Steel: Ensure your work area is clean and use an appropriate shielding gas mix for effective results.
Maintenance and Troubleshooting of Your Unimig Viper
Regular Maintenance Procedures
To extend the life of your Unimig Viper welder, establish a regular maintenance routine that includes:
- Inspecting and cleaning the gas nozzle and contact tip regularly to ensure optimal gas flow and electrical contact.
- Checking and replacing worn wire feed rollers to maintain consistent wire feeding.
- Cleaning the exterior of the machine and keeping the ventilation ducts free of dust and debris.
Diagnosing Common Problems
Should issues arise, refer to these common diagnostic pointers:
- Inconsistent Arc: This may indicate faulty connections; check all electrical components.
- Excessive Spatter: May suggest too high of a voltage setting; adjust accordingly.
- Burn-through on Materials: This can be prevented by reducing the heat settings and increasing travel speed.
When to Seek Professional Repair Services
While many issues can be resolved independently, there are times when professional service is advisable. Seek expert help for:
- Electrical malfunctions that may affect safety.
- Internal damages that require specialized tools and expertise to repair.
- Frequent or unexplained issues that persist after troubleshooting efforts.